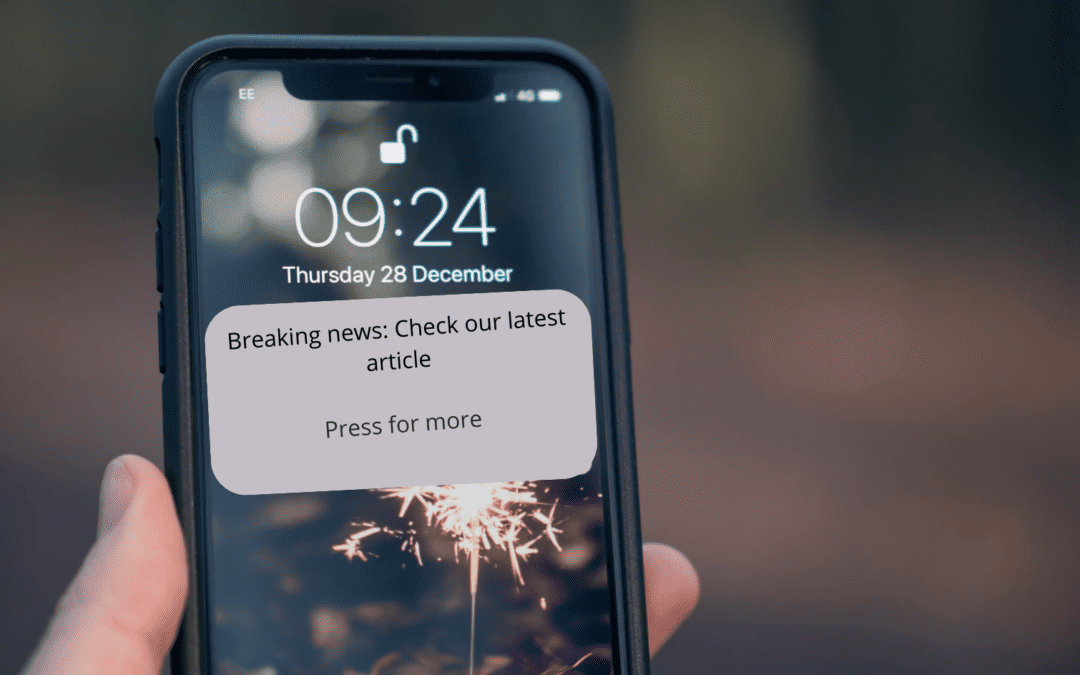
In today’s digital landscape, user engagement is key for any website’s success. One powerful tool for increasing user engagement is web push notifications. These notifications allow websites to send real-time updates and messages to users’ devices, even when they’re not actively browsing the site. Here we’ll explore the basics of web push notifications and best practices for implementing them on your website.
What are Web Push Notifications?
Web push notifications are messages sent from a website to users’ browsers, which are then displayed as pop-up notifications on their desktop or mobile devices. Unlike traditional email or SMS notifications, web push notifications don’t require users to provide their contact information. Instead, users opt-in to receive notifications when they visit a website for the first time.
Getting Started with Web Push Notifications
1. Choose a Web Push Notification Service:
The first step is to choose a web push notification service provider. This is a crucial step, because you’ll have to consider factors such as pricing, what are your push needs and what do you want to achieve using them (could be more traffic, sales, or even monetizing with them). Popular paid options include OneSignal, PushEngage, and Firebase Cloud Messaging (FCM), another popular free push notification tool is Outpush, which also allows you to monetize.
After you’re set, sign up for an account with your chosen provider.
2. Integrate the Service with Your Website:
Follow the instructions provided by your chosen service provider to integrate web push notifications with your website. This typically involves adding a few lines of code to your site’s HTML, adding a Service Worker archive to the root of your website and, in some cases, adding Ads.txt lines.
3. Start collecting push subscribers:
When a user visits your website for the first time, a prompt will appear asking them to subscribe to web push notifications. Most browsers will display a permission prompt asking the user if they want to “allow” or not notifications from your site.
4. Craft Compelling Notifications:
Once users have subscribed to your notifications, it’s time to start sending messages. Keep your notifications short, clear, and relevant to your audience. A little “clickbaiting” is allowed in the sense of arousing curiosity in your readers. Personalize messages wherever possible, in order to increase engagement and your Click-through rate (CTR).
5. Monitor Performance and Analytics:
Use your web push notification service’s dashboard to monitor the performance of your notifications. Track metrics such as CTR, conversion rate, and subscriber growth to optimize your push notification strategy.
Best Practices for Implementing Web Push Notifications
– Timing is Key:
Send notifications at the right time to maximize engagement. Avoid sending notifications late at night or during times when your audience is unlikely to be active.
– Segment Your Audience:
Segment your subscriber list based on factors such as location or interests. This allows you to send targeted messages that are more likely to resonate with specific segments of your audience.
– A/B Testing:
Experiment with different messaging strategies using A/B testing. Test variables such as message copy, timing, and frequency to identify what resonates best with your audience.
– Respect User Preferences:
Make it easy for users to unsubscribe from notifications if they no longer wish to receive them. Respect their preferences and avoid spamming them with irrelevant or excessive messages.
By following these steps you can effectively implement web push notifications on your website and drive increased user engagement. Keep experimenting and refining your notification strategy to continuously improve results and provide value to your audience. Happy pushing!

